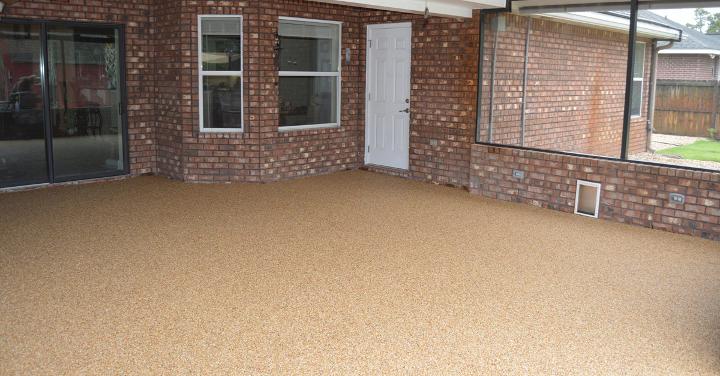
Many of our customers are both competent DIY enthusiasts and business owners, keen to install their new commercial epoxy resin floor themselves.
If you’re considering installing an epoxy resin floor for the first time, here are some top tips from our Everlast Epoxy experts to help you achieve great results.
Familiarize yourself with the product
Planning your project from start to finish is an essential aspect of the whole procedure. Ensure you’ve watched our guide to installing epoxy flooring and have the required tools to hand.
Gather together the tools you’ll need
To ensure you get the desired outcome, prepare and purchase all the tools you’ll need in advance of the installation. We recommend the below implements to help the project run smoothly and successfully:
Spreading Trowel
Clean 5 Gallon Bucket
Finishing Trowel
9 Amp Mixing Drill
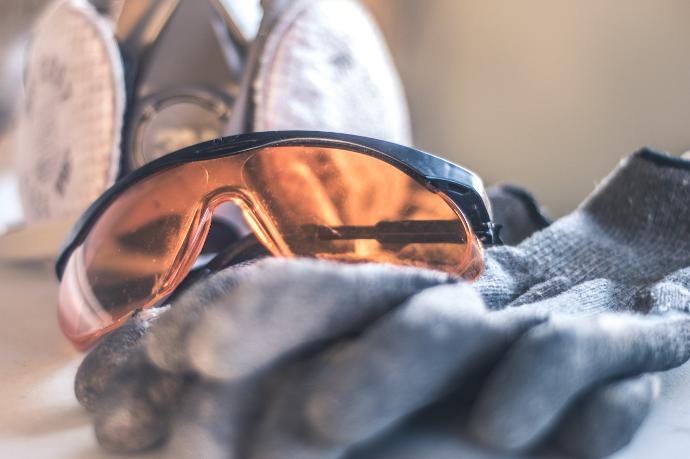
Safety Glasses and Gloves
We also suggest investing in a kneeboard, as while installing epoxy flooring is relatively easy, it’s not so easy on the knees!
Interested in seeing high quality Epoxy flooring up close? Get our FREE sample pack today!

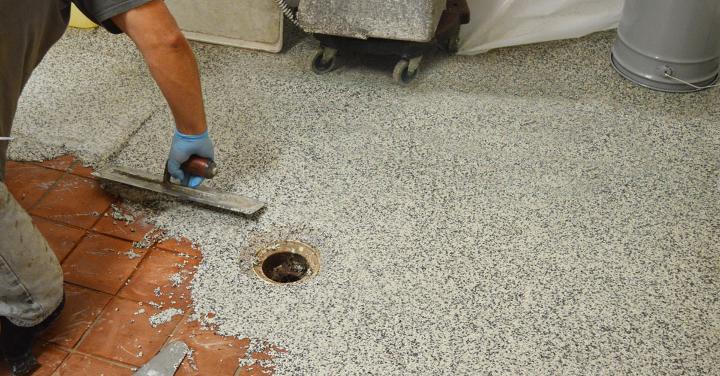
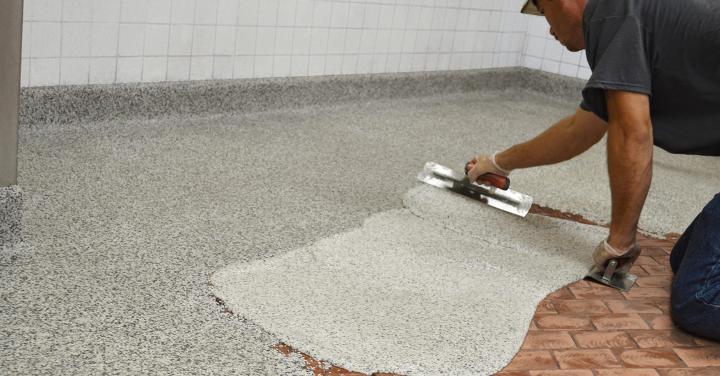
Prepare the substrate
One of the best things about an Everlast Epoxy floor is the minor surface preparation you’ll need to do. The substrate needs to be clean and dry, and we advise lightly sanding the surface to help create a long-lasting bond. If you are installing a lighter shade than the substrate, use a white primer to avoid any darker surfaces showing through.
If you are installing an epoxy resin floor over a wooden floor, or a high-gloss substrate, you’ll also need to apply a primer to ensure a cohesive bond and good-looking finish.
Do a sample mix
If this is the first time you’ve installed a resin floor, it’s worth doing a few sample mixes to familiarize yourself with the curing times and the physical properties of the product before you attempt to trowel onto the substrate.
Understand ‘dew points
The dew point is the atmospheric temperature below which water droplets begin to condense and cause dew to form.
We advise that you should never apply epoxy flooring when the dew point is within five degrees of the temperature in the area you’re working in. Why? Because excessive condensation can warp the resin and cause the finished floor to be uneven.
Want to know the current dew point in your area? Check out The Weather Channel’s interactive map.
If the substrate temperature is below 55 degrees Fahrenheit - then DO NOT attempt your installation.
Invite a buddy along!
Depending on the area you are resurfacing, inviting a buddy (or two) might be beneficial to help you hand-trowel the mixture evenly over the surface.
Know when it’s time to glaze the floor
In most conditions, Everlast Epoxy flooring cures fully in eight to twelve hours - providing the substrate temperature is above 70 degrees Fahrenheit. In colder conditions, it can take up to three days to cure and remain slightly sticky until the glaze coat is applied.
See how others achieved flooring perfection
It’s always good to know that others have successfully installed an epoxy floor in their business premises. Our testimonials page is packed with stories from happy customers - including one from Kate Vacca of Katiepie Country Kitchen who installed a new resin floor in her food preparation area.
Want to know more? Get in touch
We hope you now have some handy tips and tricks up your sleeve to make your epoxy flooring project a success.
Our experts are always on hand to support you at every step of the way, so if you have any questions, or need more advice on installing a resin floor yourself, contact our team at (800) 708 9870.
Happy installing!
Interested in seeing high quality Epoxy flooring up close? Get our FREE sample pack today!